Stainless Steel Nail Clamp for Efficient Salon Workflows
Integrate a stainless steel nail clamp into your manicure routine to speed up soak-offs, foil work and precise nail art. Practical tips for salons inside.
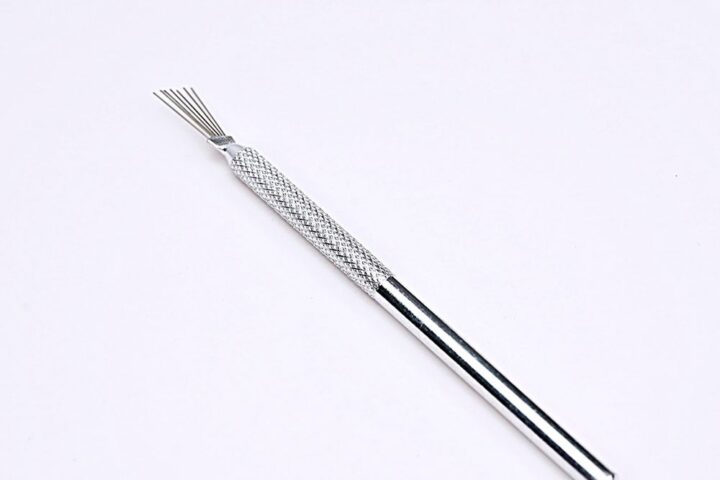
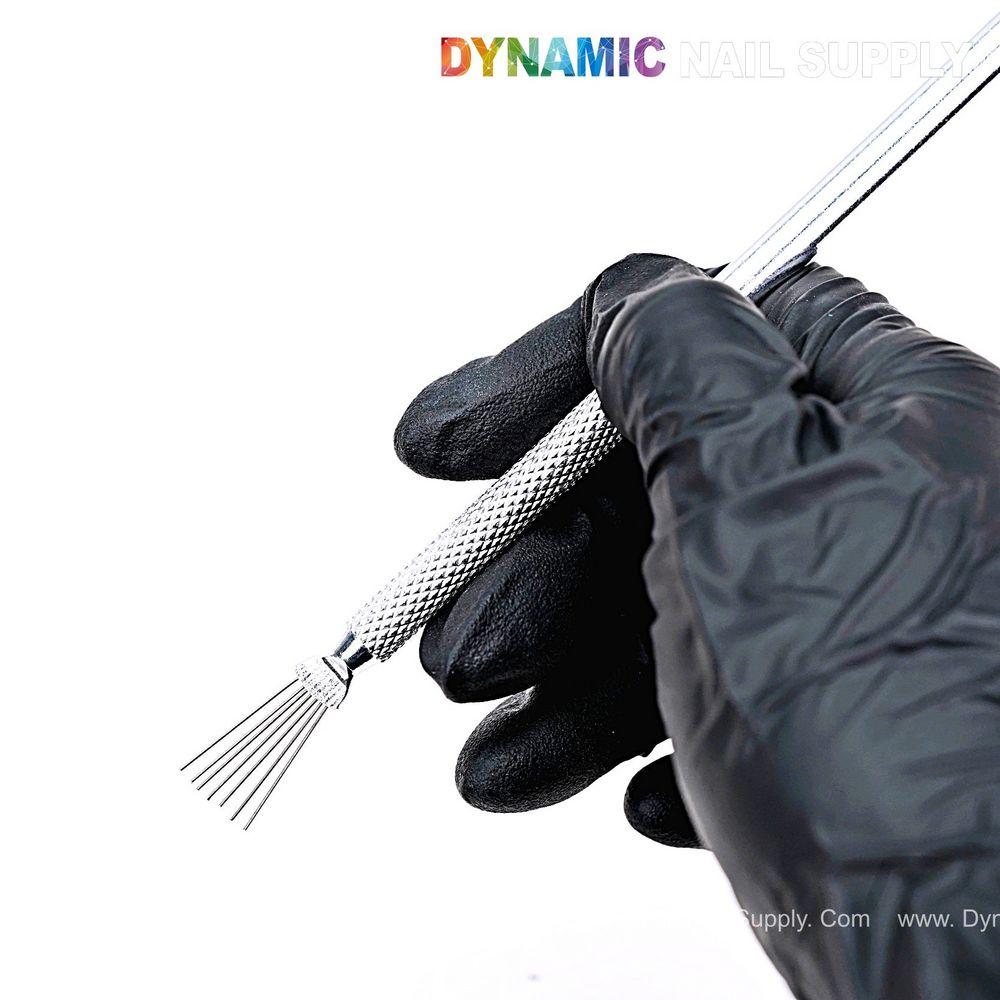
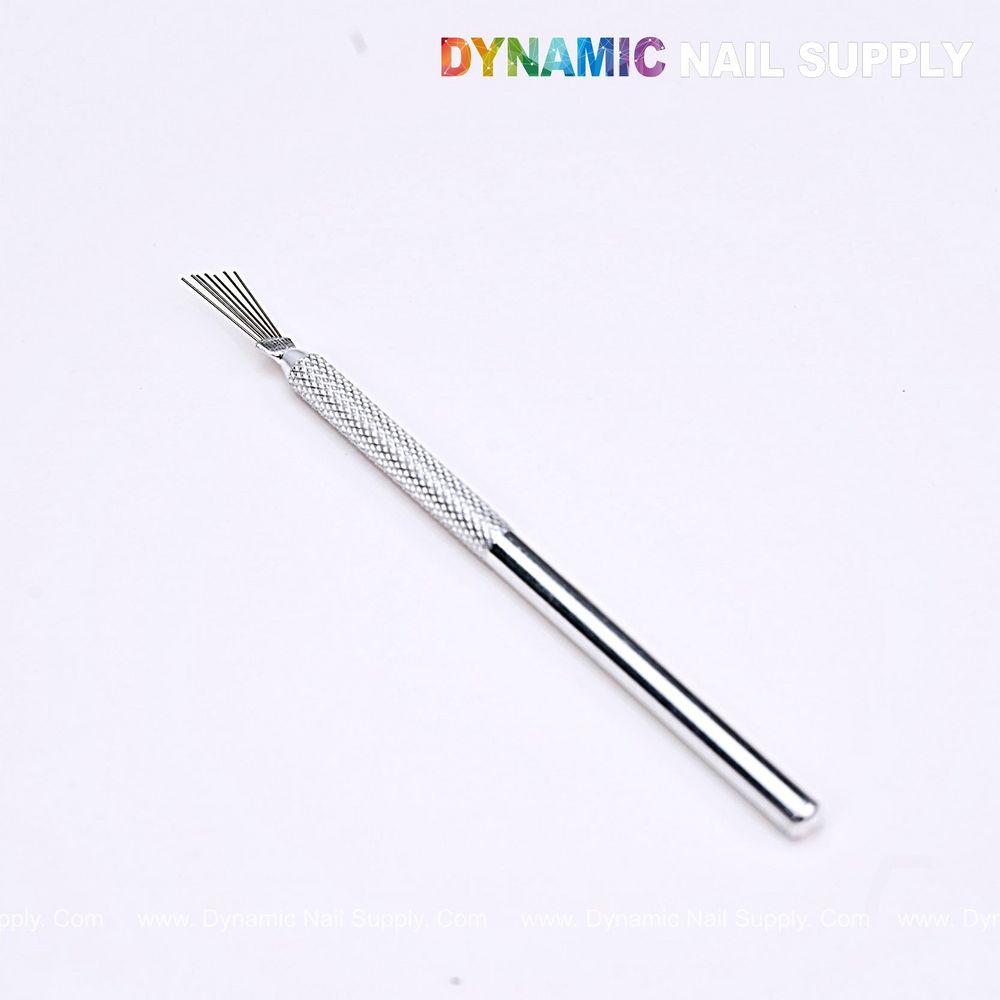
Small, sturdy tools that reduce fumble-time are a secret weapon in busy salons. A stainless steel nail clamp—often sold alongside a multi-purpose stainless steel brush—streamlines steps that once took extra hands or awkward positioning. When placed thoughtfully into a manicure workflow, this tool saves time, improves consistency, and helps technicians focus on the finishing touches clients notice.
Below you’ll find practical guidance on where to use a stainless steel nail clamp during professional services, step-by-step sequences, real-world tips for speed and safety, and who benefits most from adding one to their kit. If you want to examine purchase details, consider this nail clamping tool for a clear product option.
How the clamp fits into a salon manicure flow
The clamp is designed to slot into specific moments of a service where holding, stabilizing, or isolating a nail matters. Use it during soak-offs (acetone wraps or foil removal), while attaching tips or forms, for precise foil transfers, and anytime a client’s finger needs to be immobilized for painting or decoration. Because the tool is stainless steel, it’s a dependable option for repeated salon use.
Step-by-step: using the clamp in common services
1. Soak-off and foil removal
- Prep: File the top coat lightly and apply acetone-soaked cotton or foil per your salon protocol.
- Clamp placement: Gently secure the clamp around the tip area or base of the wrapped portion to keep the foil tight and contact consistent.
- Removal: After the allotted time, use the clamp to lift and peel, reducing direct hand-to-product contact and speeding removal.
2. Attaching tips or sculpting forms
- Stabilize: Use the clamp to hold a tip in the proper alignment while adhesive sets, especially on small or uneven natural nails.
- Precision: For builders and overlays, the clamp can maintain pressure on the contact area until the material self-levels or initial cure is achieved.
3. Nail art and foils
- Control: During delicate foil transfers or placement of minute decorations, the clamp keeps the nail still so you can work with both hands.
- Clean edges: A steady nail reduces smudging and produces crisper lines when painting or stamping.
Key features in context
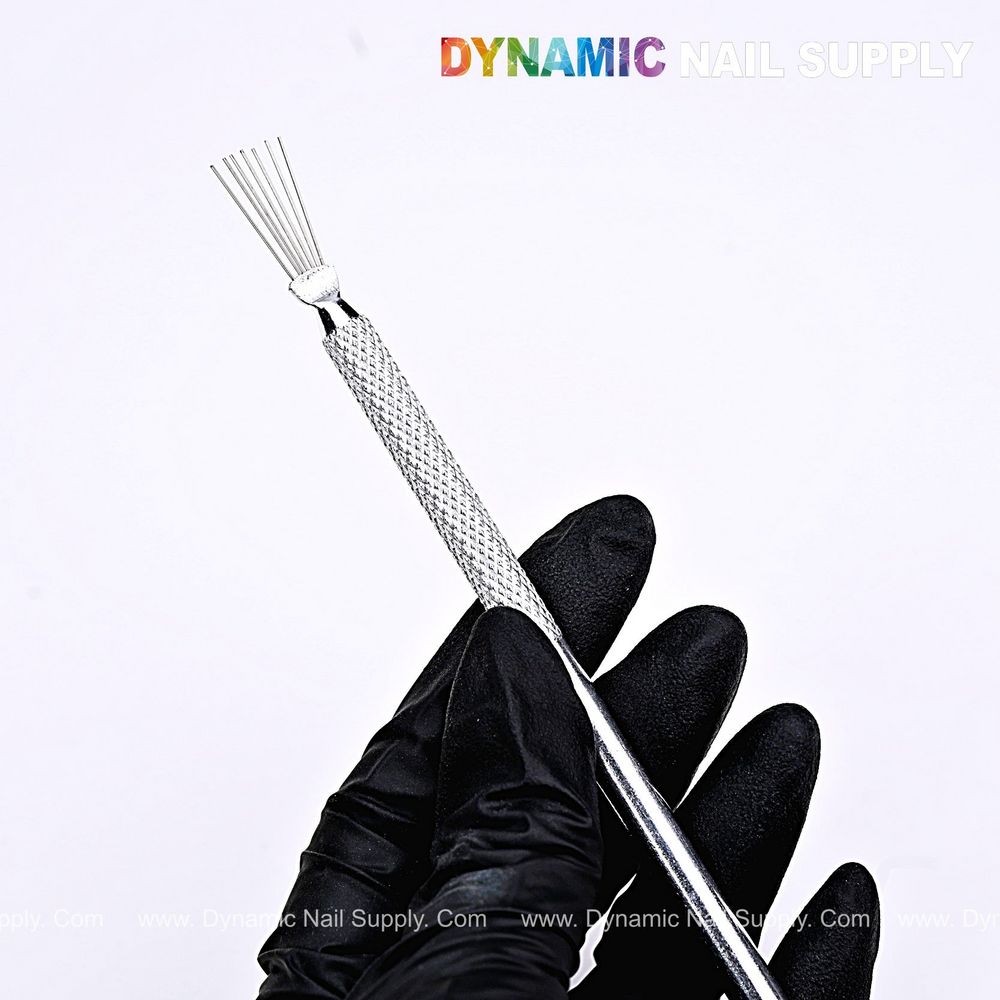
Because the product is made of stainless steel, it resists corrosion from solvents and disinfectants commonly used in salons. The multiple-purpose nature—often combining a small brush with the clamp—means technicians can switch between cleaning, prepping and clamping without changing tools. These attributes support a consistent workflow when the technician must move quickly between clients.
Practical tips to speed up service and avoid mistakes
- Plan clamp use into your service map: note exactly when you’ll place and remove the clamp to prevent workflow pauses.
- Keep a tray of pre-sanitized clamps ready during peak hours so you’re not waiting for disinfection cycles.
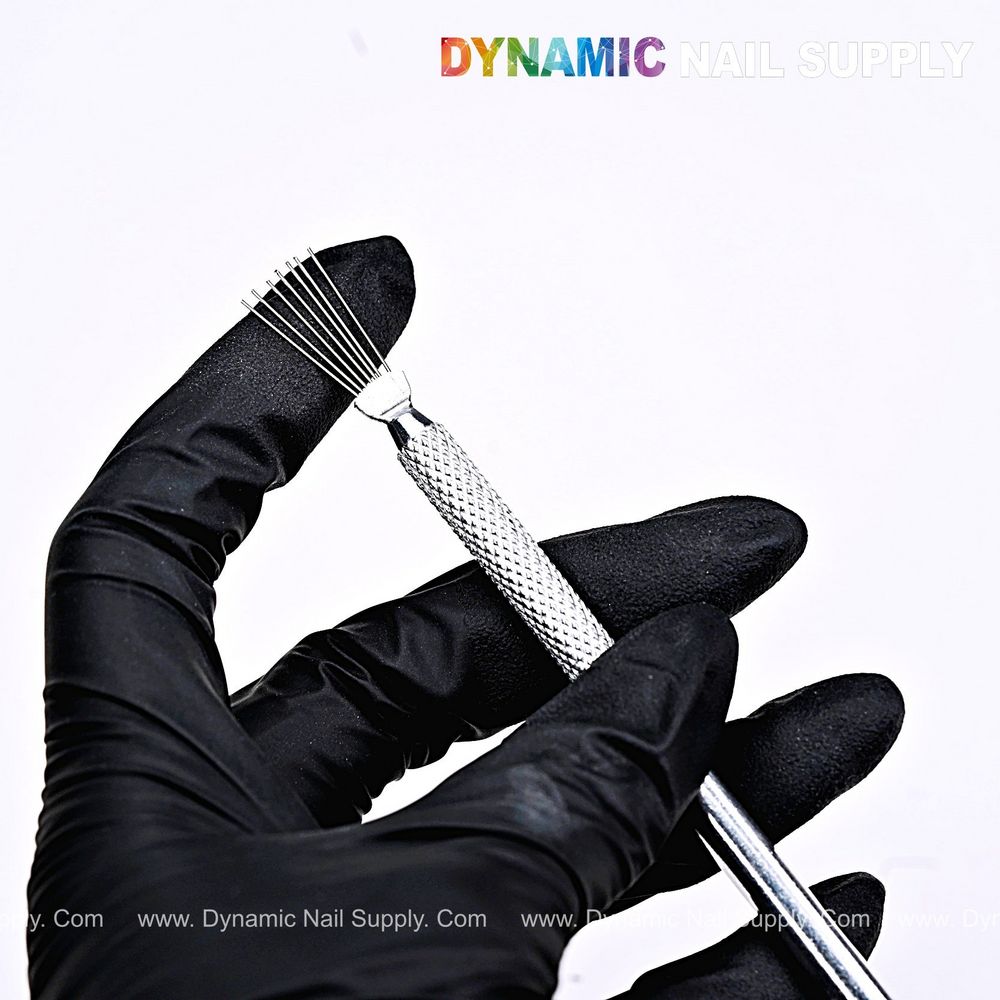
- Use the included brush (if present) to clean debris or excess product before clamping—this improves contact and adhesion.
- Avoid over-tightening: gentle, steady pressure is usually enough; excessive force can stress the natural nail or tip bond.
- Label clamps by size or purpose if you use several—assign one clamp for soak-offs and another for glue/tip work to reduce cross-contamination risks.
Who benefits most from adding one to their kit?
Technicians who perform high volumes of gel soak-offs, tip applications, or intricate foil and stamping work will find a stainless steel nail clamp especially useful. It’s also a smart addition for mobile nail techs who need compact, multi-role tools. Salon owners can equip stations with at least one clamp to standardize services and reduce variability between technicians.
Care, sanitation and safety notes
- Sanitation: Stainless steel tolerates standard salon disinfectants. Follow your local regulations for instrument cleaning and disinfection between clients.
- Inspection: Regularly check the clamp for bends, rough edges, or fatigue that could snag skin or polish; replace if any damage appears.
- Use with care: The clamp is intended to hold nails and accessories—avoid using it on broken skin or inflamed cuticles.
Where to buy and cost considerations
This clamping tool is positioned as an affordable, entry-level instrument for professionals and is often stocked with other small manicure accessories. Dynamic Nail Supply lists this type of tool at an accessible price point of $4.99; note that retail pricing can change and bundling with other tools may offer better value during restocks.
Conclusion: integrate the clamp for smoother, faster services
Adding a stainless steel nail clamp to your toolkit is a small change with outsized benefits: faster soak-offs, steadier nail art, and cleaner tip applications. When used with a clear step plan, routine sanitation, and sensible pressure, the clamp becomes an indispensable part of a professional workflow—helping salons deliver consistent, high-quality results with less strain on technicians.